A few weeks it was the annual Gower Chilli Festival, which of course meant it was the annual Gower Chilli Cook-Off!

Having entered last year for the first time, and come a not-too-shabby 9th out of 12 (not too bad, considering I went in with very little clue as to what I was doing, or what the standard was, so was expecting, but not hoping for, last place), I was looking for an improvement on last years placing - in my head aiming for a move up the rankings to around 5th place.
Despite not switching to mince, as I had said I would in the retrospective last year, I did focus on really making the flavour work over the four hours. And boy was that stressful! When all the ingredients hit the pan at about the one hour mark, so with three hours to reduce, it was pretty runny, so I spent a large part of the next 2 1/2 hours stirring, pacing and fretting about whether it was actually going to reduce like it was supposed to. But it did, it just left it until the final 30 minutes to really thicken up!
Unfortunately, whilst we planned to take heed of the lesson learnt that food prep could start before the official kick off, we failed. Actually worse than last time - last time around we were there and tent setup for the starting gun, but without most of the ingredients, this time we didn't even arrive on site until starting time and whilst the other competitors were starting to cook we were trying to setup table, cooker and gazebo!
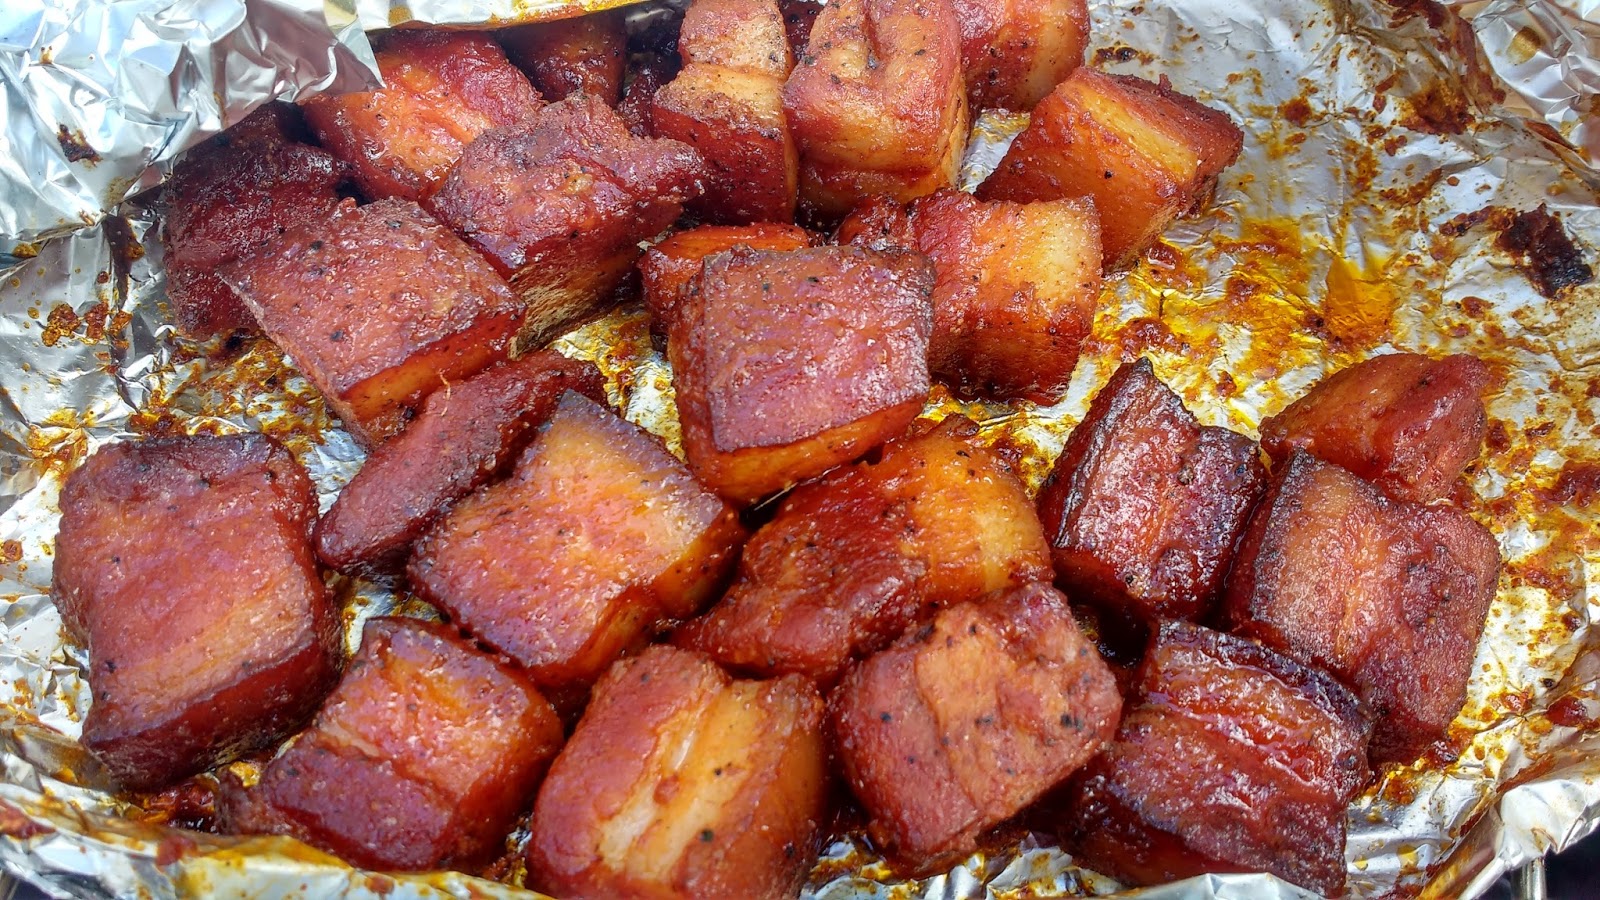
I also used bacon bits this year, which overall I was happy with, but bacon doesn't really seem right for slow cooking - admittedly, they work fine in a slow braise, and kind of melt away, but I'm going to try switching to pig cheek for the next experiment. As well as being cheaper, it should also provide a closer texture and appearance to the beef.
I will also try to experiment with a different blend of chillies, to see how I can work the flavour a little more.
So, a better improvement than I hoped for and meant I took home the bronze cash prize which just about covered the cost of the food! A further nice side-effect of the placing was because the Silver medal winner had already qualified for the UK finals (he is a chilli cook-off circuit pro and had already qualified in another regional cook-off) I took his place, which means 23rd September, I will be competing in the UK finals, which should be fun!
It was a genuine surprise, there were only 9 competitors, and all looked very serious, so on arrival I started revising my targeted place to maybe 6th out of the 9. Whilst tasting the other competitors chillis, we started to be optimistic that "we wouldn't be last place" (a genuine phrase that was said out loud several times in our tent during the final stage - which shows the level of expectation on the team!). Our confidence was somewhat boosted by the People's Choice voting (during tasting, people can taste and vote for their favourite before winners announced) as we seemed to be getting at least a reasonable number of votes (last year I had one vote, which was by us), but was still in genuine shock when the results were announced!
As per last year, here are the feedback cards (one of the official UK Chilli Cook-off Association judges explained that two of the judges on the panel judged all events, whilst the other two were locals - which I assume was his attempt to explain the two extreme outliers in the scoring)


Having entered last year for the first time, and come a not-too-shabby 9th out of 12 (not too bad, considering I went in with very little clue as to what I was doing, or what the standard was, so was expecting, but not hoping for, last place), I was looking for an improvement on last years placing - in my head aiming for a move up the rankings to around 5th place.
Lessons learnt (or not) from last year
In my retrospect last year, I noted that a more regular competitor (and professional chef) told me that "mince always wins", so I was going in with the plan to switch to mince, but a last minute (well, the week before) change of heart saw me going once again for my favourite part of the cow - ribs! As it happens, I think the top three or four competitors were actually not using mince this year, so maybe the old mince bias is not a thing, or maybe it just wasn't mince's year. I don't think we found anyone else using short-ribs, brisket seemed a popular choice and I think another competitor was using shin, another using goat and another using pork belly.Despite not switching to mince, as I had said I would in the retrospective last year, I did focus on really making the flavour work over the four hours. And boy was that stressful! When all the ingredients hit the pan at about the one hour mark, so with three hours to reduce, it was pretty runny, so I spent a large part of the next 2 1/2 hours stirring, pacing and fretting about whether it was actually going to reduce like it was supposed to. But it did, it just left it until the final 30 minutes to really thicken up!
Unfortunately, whilst we planned to take heed of the lesson learnt that food prep could start before the official kick off, we failed. Actually worse than last time - last time around we were there and tent setup for the starting gun, but without most of the ingredients, this time we didn't even arrive on site until starting time and whilst the other competitors were starting to cook we were trying to setup table, cooker and gazebo!
Things to improve
I was happy with the consistency and the savoury element of the chilli, and the judges seemed to like that balance - but as my dad pointed out, it lacked a salt and sweetness - it was very meaty, just didn't have the all round brightness. I did forget to add the sugar at the end, and also forgot to add the lime - which might have brightened it a little and made it a little better balanced. One idea that I have had since is to add tomato ketchup: being packed with both sugar and salt and has quite a sharp taste, if I can work out a subtle enough quantity it might add the missing something.I also used bacon bits this year, which overall I was happy with, but bacon doesn't really seem right for slow cooking - admittedly, they work fine in a slow braise, and kind of melt away, but I'm going to try switching to pig cheek for the next experiment. As well as being cheaper, it should also provide a closer texture and appearance to the beef.
I will also try to experiment with a different blend of chillies, to see how I can work the flavour a little more.
The results
I came 3rd!So, a better improvement than I hoped for and meant I took home the bronze cash prize which just about covered the cost of the food! A further nice side-effect of the placing was because the Silver medal winner had already qualified for the UK finals (he is a chilli cook-off circuit pro and had already qualified in another regional cook-off) I took his place, which means 23rd September, I will be competing in the UK finals, which should be fun!
It was a genuine surprise, there were only 9 competitors, and all looked very serious, so on arrival I started revising my targeted place to maybe 6th out of the 9. Whilst tasting the other competitors chillis, we started to be optimistic that "we wouldn't be last place" (a genuine phrase that was said out loud several times in our tent during the final stage - which shows the level of expectation on the team!). Our confidence was somewhat boosted by the People's Choice voting (during tasting, people can taste and vote for their favourite before winners announced) as we seemed to be getting at least a reasonable number of votes (last year I had one vote, which was by us), but was still in genuine shock when the results were announced!
As per last year, here are the feedback cards (one of the official UK Chilli Cook-off Association judges explained that two of the judges on the panel judged all events, whilst the other two were locals - which I assume was his attempt to explain the two extreme outliers in the scoring)